Purchase
You can purchase MArkers now from our sales site. Simply click the button below to be taken to the checkout.
Purchase MArkersPurchase MArkersPRO
Once Registered, MArkers works from Console, OnPC and OnMac MA3 software.
MArkers requires a USB stick to be used as a license key. Each purchase allows for 2 separate USB sticks to be registered as a key.
The current version of MArkers is V2.0.8.0. This version will not run on MA3 lower than V1.9.2.2 . Download the latest version here
Reaper Version 7 or above is required for MArkers and MArkersPRO.
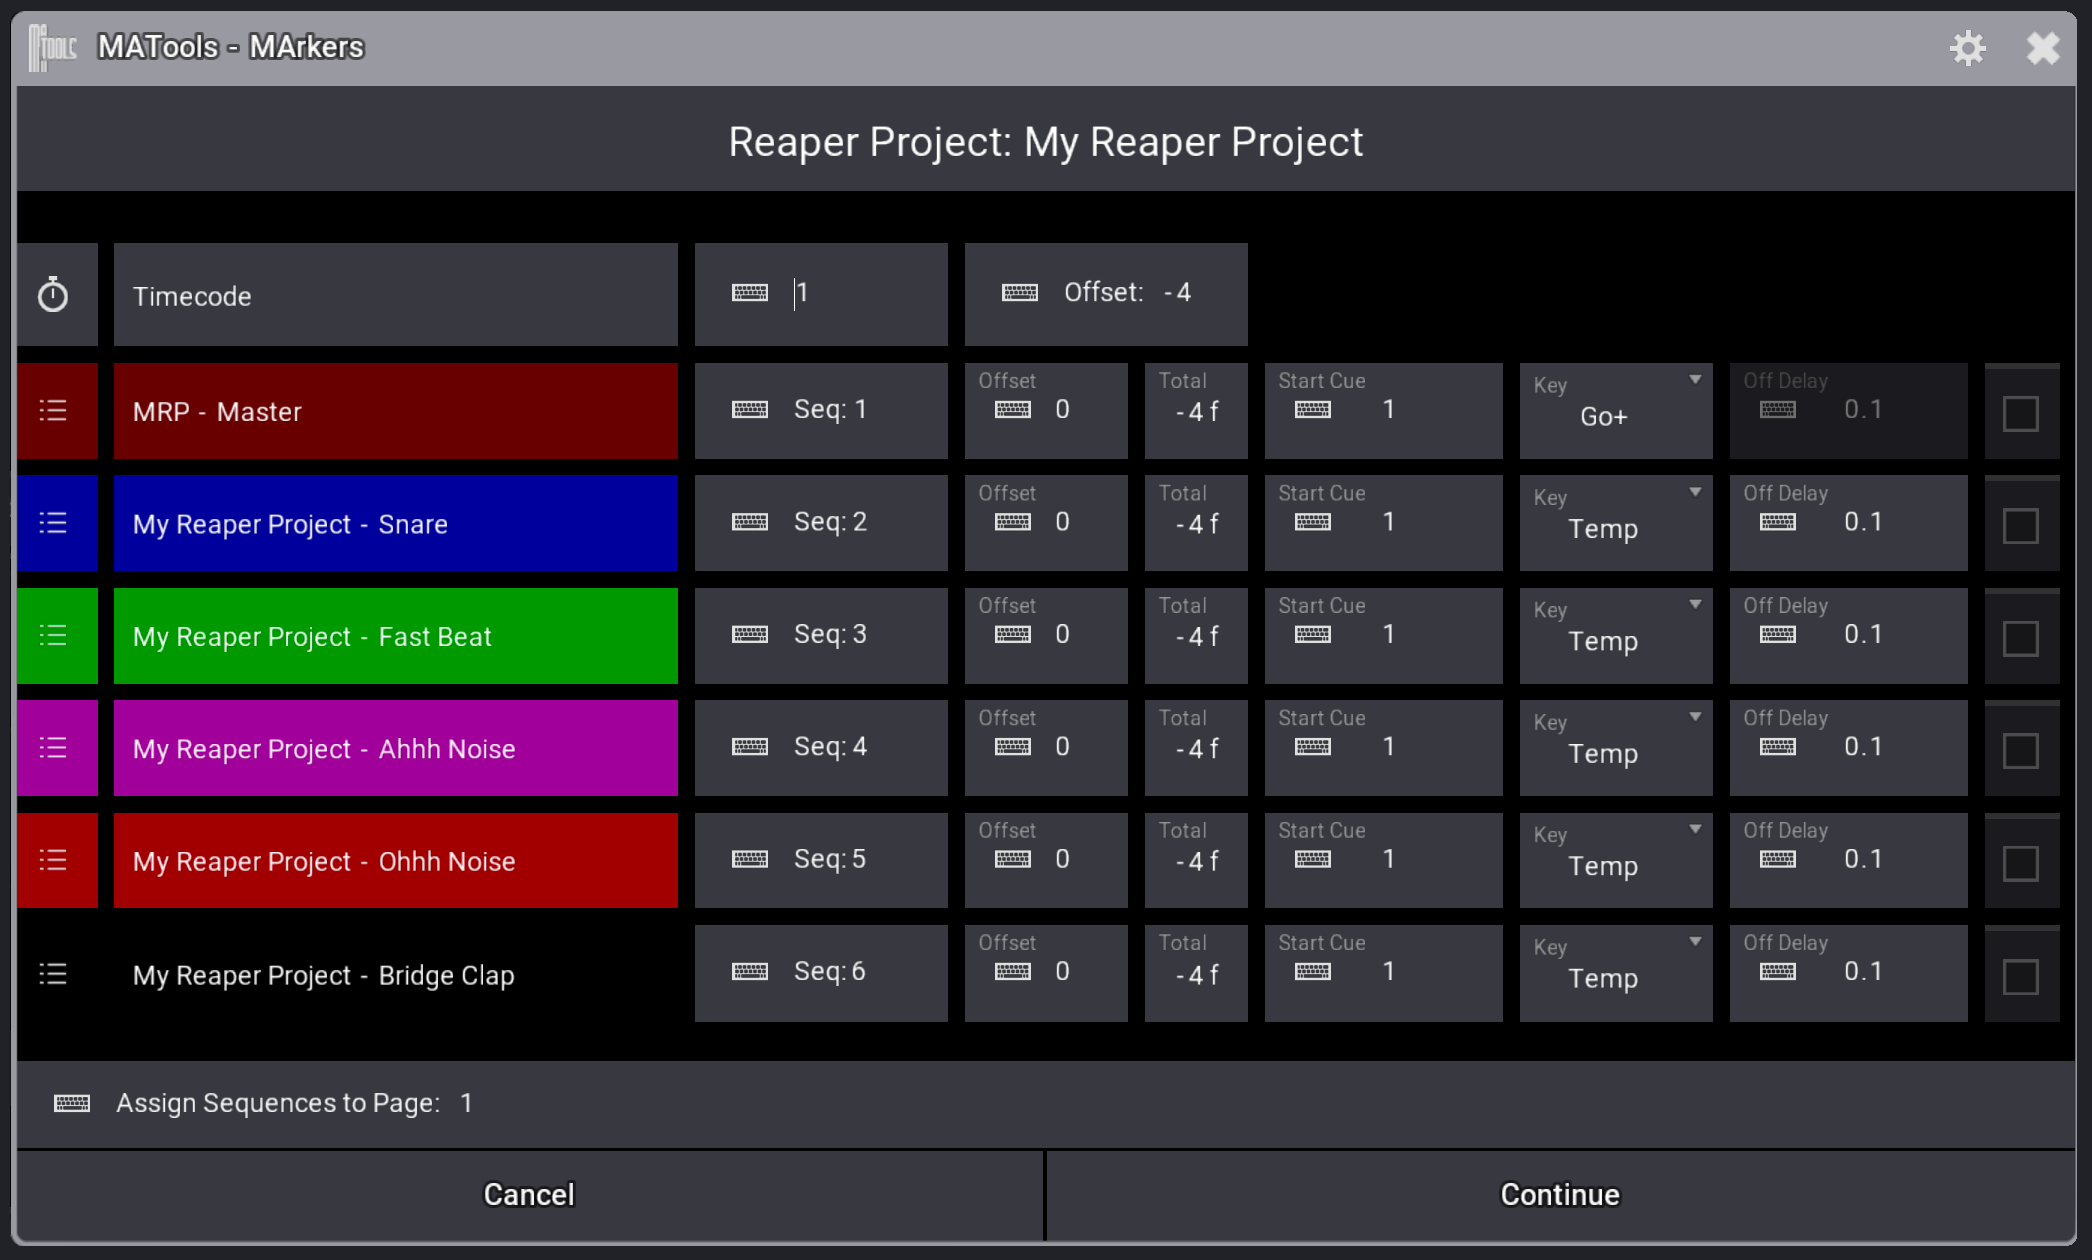
Here is an example of the import dialog that you will see when importing a Reaper project with MArkers.

Here is where you specify which Timecode pool number you wish MArkers to create. If you specify an existing timecode pool object, MArkers will attempt to update that timecode with the new data being imported.

Adjust the overall offset in frames of the timecode which is imported. You may want to adjust this to adjust for any latency in your control system. For more information, and to set the default value of this field, see Latency Offset Setting
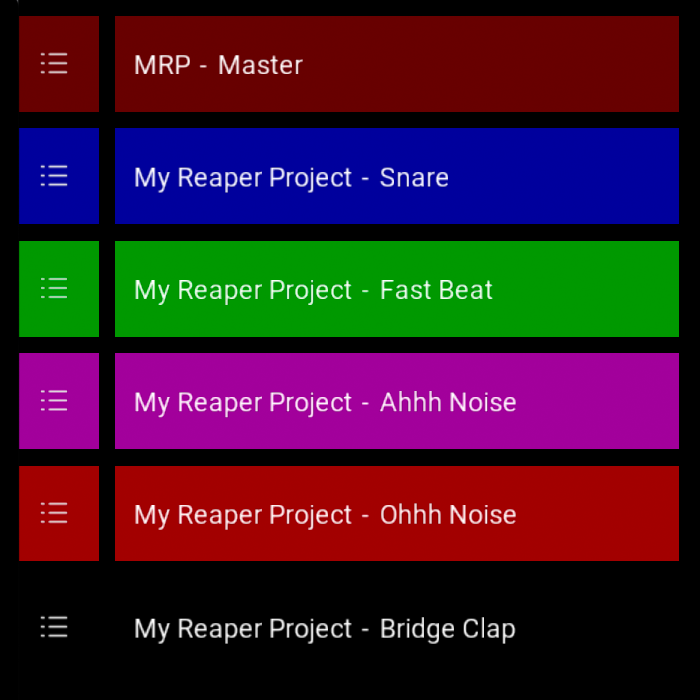
When importing, MArkers will attempt to name each sequence based on your settings, see Sequence Names below. If all markers in your Reaper project are named the same, or just the first marker of a color is named, MArkers will use this to label the sequence, making the assumption that this will be a flash/temp style of sequence.
You can rename or change the color appearance of the sequences from the import GUI by tapping on the name of the sequence.

This is where you can specify which sequence each track will import to.

You can adjust each track's individual offset from here, with the total offset displayed to the right. For example this can be used if you have tungsten fixtures, which would naturally have a slower dimmer curve than an LED fixture, so you might want to account for this and adjust this track earlier in the timecode by typing a negative number of frames.

You can specify for each track which cue number MArkers will start storing from using this setting.

This is the default timecode token that will be assigned when importing this track. Setting this to "Temp" or "Flash" will make MArkers add an Off Cue event in your timecode track after the cue, making a flash style event. If you assign "Top", then the imported track will only create a 1 cue sequence with "Top" as the timecode token. This method can be an effective way of creating flash/bump sequences.

When your track timecode key is set to "Temp" or "Flash", Off Delay will be enabled to allow you to set a delay in seconds before an off cue timecode event is added.
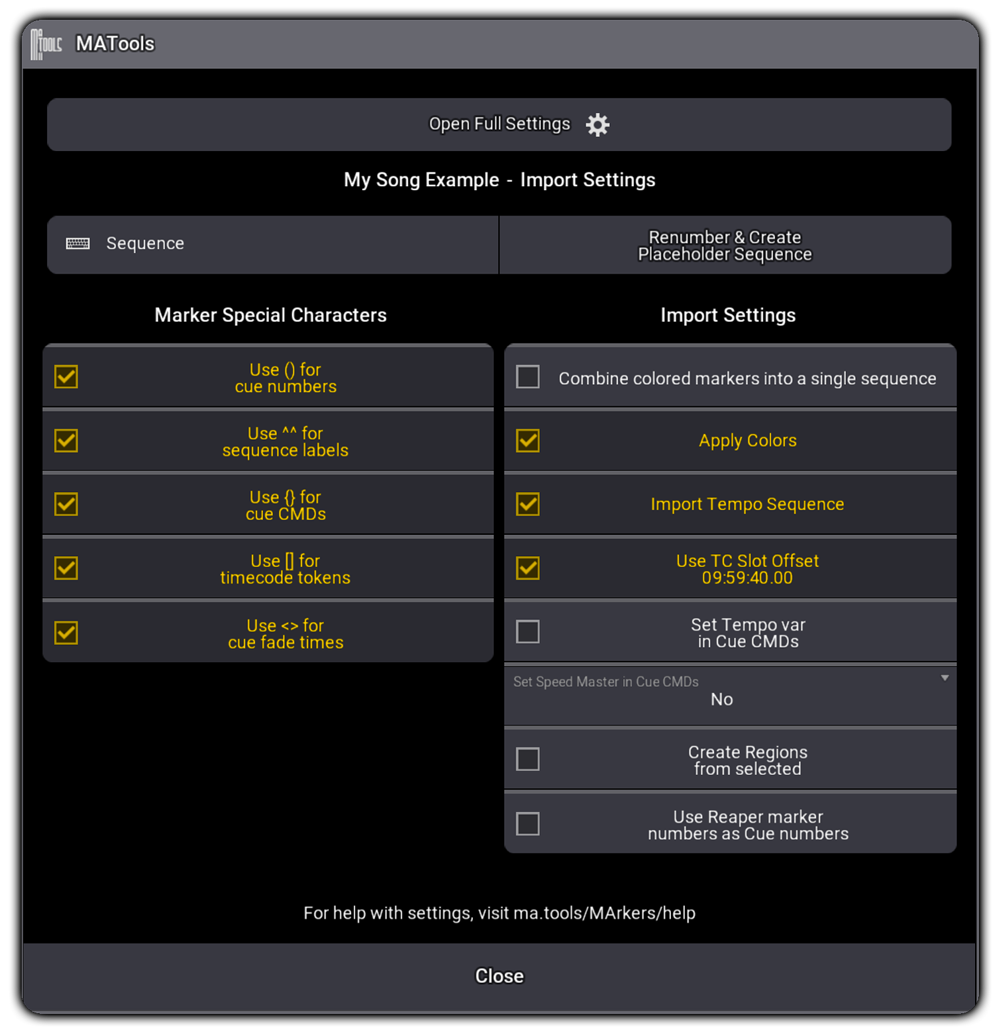
You can get to the import settings by clicking on the cog icon in the title bar of the import GUI. The settings in this GUI are Reaper Project specific.


You can renumber the sequences that MArkers has assigned and create a blank labelling sequence by inputting a new start sequence number in this input box and clicking renumber and create placeholder sequence.
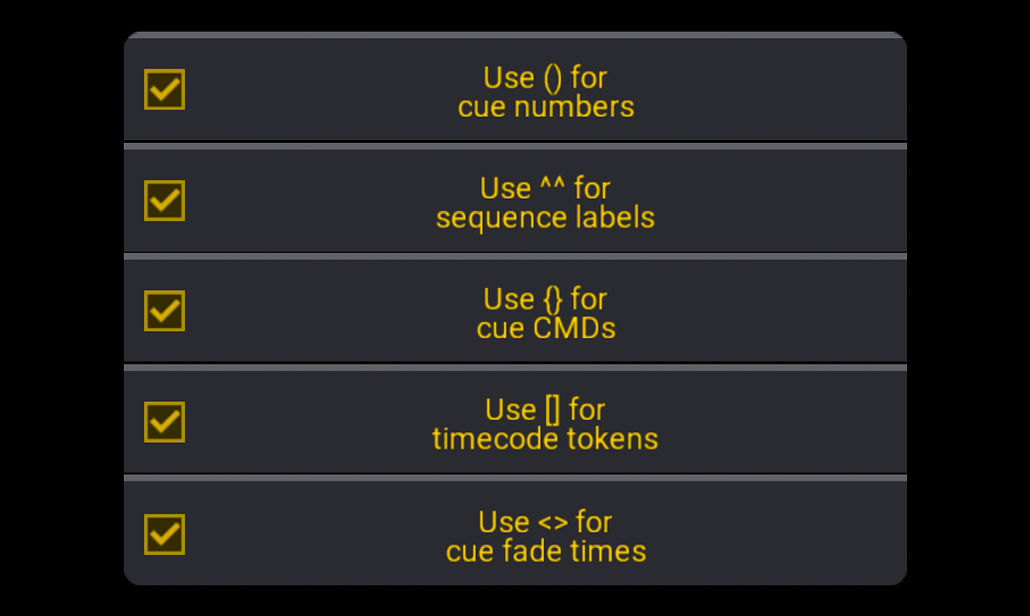
These settings relate to the use of special character in a Reaper marker. You can disable any of the options in case you are using the special characters in your cue labelling.
Brackets are used to specify the cue number for that marker. For example a marker labelled "My Cue (100)" would be labelled "My Cue" and would be cue number 100.
Carets are used to specify a sequence label. For example labelling the first marker of a color "My Cue ^My Sequence^" would label the imported sequence "My Sequence".
Braces are used to add a cue CMD for the associated cue. For example labelling a marker "My Cue {Call Macro 1}" would add a cue CMD as "Call Macro 1".
Square brackets can be used to specify which timecode token should be used for that marker. For example "My Cue [Temp]" would create a timecode element with a "Temp" token assigned to it.
Greater than and less than symbols can be used to encase cue fade information. For example "My Cue <5>" would result in "My Cue" having a Cue Fade of 5 seconds. Another example could be "My Cue <4/3>" would create the cue "My Cue" with an In Fade of 4 seconds and an Out Fade of 3 seconds.

When checked, combine colored markers will ignore that there are different colored markers in your Reaper project and combine all of the markers into one single sequence.

Apply Colors allows the user to determine if they want to apply appearances based on the color of the Reaper marker color in the project file.

Use this setting to set your Timecode pool's TC Slot Offset to the same as your Reaper's Project Start Time. For example; If set to "Yes" An event at 01:00:01.00 in a Reaper project with Project Start Time of 01:00:00.00 will be at 00:00:01.00 in your timecode pool with the TC Slot Offset at 01:00:00.00. If set to "No". An event at 01:00:01.00 in a Reaper project with Project Start Time of 01:00:00.00 will be at 01:00:01.00 in your timecode pool with the TC Slot Offset at 00:00:00.00.

When checked, MArkers will import a tempo sequence and add this to the created timecode. This tempo sequence is used for tracking tempo changes and is used in combination with BPMTimes or custom user tempo functions.

You can set a user variable with the song tempo in the cue CMD with this setting. This can be useful if you make further use of the BPM of a track when programming. For example you if the you have our plugin BPMTimes, this variable will set the BPM value used in this plugin. Songs with tempo changes will have cue commands in associated cues where the BPM changes.
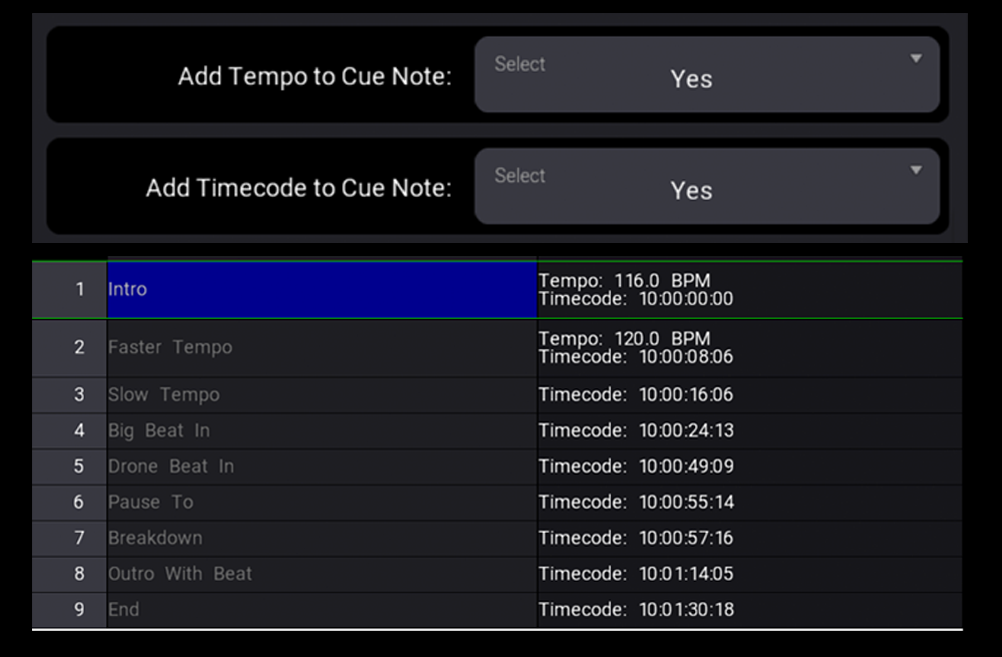
With these settings, MArkers can add cue notes with the track tempo and/or marker timecode point. Tempo notes will only be added if the tempo of the cue has changed from the previous tempo value.

When this checkbox is selected, you will see some extra checkboxes on the main MArkers import GUI. You can then select which track MArkers will create timecode regions from.

When selected, this import setting will use the Reaper marker number as cue numbers.

This is the IP Address of the station which has Reaper running with the MArkersPRO server installed. If you're running MA and Reaper on the same machine, use the loopback interface of "127.0.0.1"

This is the Port of the station which has Reaper running with the MArkersPRO server installed, the default communication port for MArkers is "29882".

This button is used to auto detect Reaper connections available to MArkersPRO. When clicking on the select button, MArkersPRO will search the network and show you a list of available Reaper connections.

You can now send ArtNet timecode directly from Reaper to the MA over the network. No need for any audio or midi interfaces, and will also work between Reaper and MA on the same computer. Use "Start ArtNet Timecode" to enable/configure the ArtNet Timecode from Reaper. "Stop ArtNet Timecode" disable the ArtNet Timecode sending from Reaper.

This setting allows the user to offset the imported timecode + or - a specified amount of frames to account for latency in individual systems. For example, if the delay added by cable length or external processing is 4 frames, you can write "-4" here to account for this delay.

This is the default behaviour for the import setting "Apply Colors". See Apply Colors

This is the default behaviour for the import setting "Combine colored markers into a single sequence". See Combine Coloured Markers

This is the default behaviour for using TC Slot offset. See TC Slot Offset.
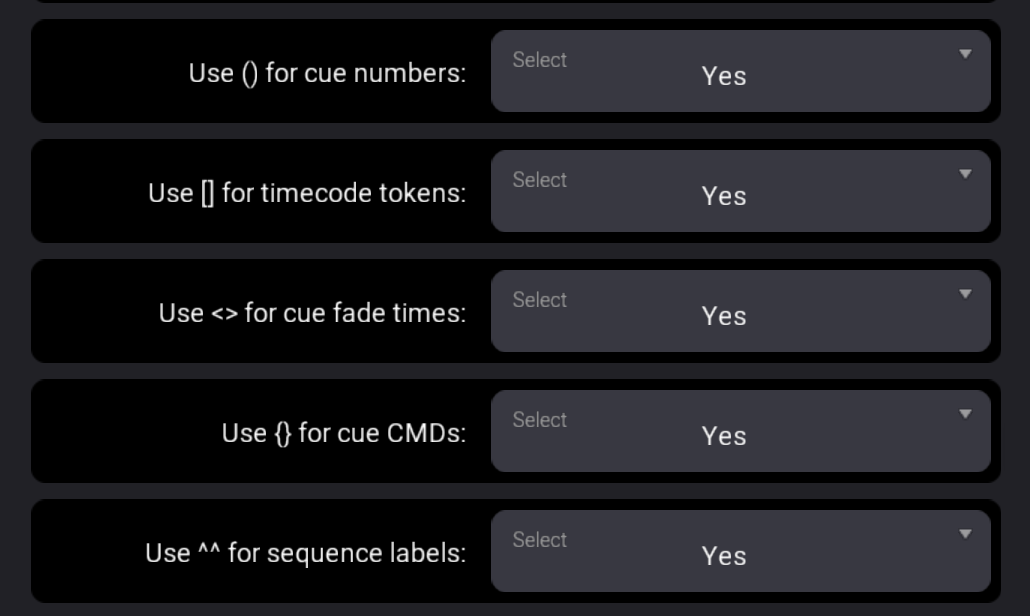
These set the default action for the Import Settings of special characters. See Special Characters.

This is the default behaviour for this import setting. See Tempo Variable In Cue CMD.

This is the default behaviour for the cue note settings. See Cue Notes.

This is the default behaviour for the import dialog checkbox "Assign Sequences To Page". When selected, the sequences will be assigned to the page specified.

Default import beahavious for the setting to the Reaper marker number as cue numbers. See Reaper Marker As Cue Numbers.

When importing the master sequence, you can define the naming convention using this setting. There are some special cases which you can use to suit your requirements.
"ProjectName" will use the Reaper project name in the sequence label.
"ProjectNameShort" will use the initials of the Reaper project. For example, if your project is called "My Reaper Project" this will be abbreviated to "MRP".
"SeqName" will use the name generated for the sequence.
An example use of this setting could be to type the format "ProjectNameShort - MAIN", with the Reaper project labelled "My Reaper Project", the imported sequence would be labelled "MRP - MAIN".

When importing a new master sequence with MArkers, this is the sequence pool number that MArkers will store from. This setting will help you to keep your sequences organised when importing.

When importing, if no cue numbers are defined using special characters (), this is the starting cue number the master sequence will create cues from.

This is the timecode token which will be assigned as default to the timecode events to your master sequence.

This is the sequence priority for your master sequence.

When set to another sequence, this sequence will be copied as your template before MArkers creates cues. For example you might have a template sequence you want to use every time you use MArkers which has Cue 0.5 and Cue 100 already stored with a "house" look. When MArkers imports, it will copy this sequence, then add the Reaper markers as cues as your master sequence.

The Fade Unit setting has the options of "Beat" and "Seconds". "Beat" will use the tempo from your Reaper project to calculate the amount of beats using the "Fade Time" input to use as the default Cue Fade. "Seconds" will use the "Fade Time" input and assign this number in seconds as your default Cue Fade.

When importing a project from Reaper, by default, MArkers will use Reaper's default (red) marker colour to import as the master sequence. In some cases, you might want to use a different colored marker to import as your master sequence. You can change the marker color with this setting. Note, the list of colors available are collected from previous imports. If the color marker you need isn't shown, then first sync your project to add the marker color to this list.

When MArkers creates sequences and assigns them to an executor, you can specify an existing executor configuration.

Setting this setting to "Yes" will assign the timecode token to the executor key. For example, if your timecode token for a track is "Top" then when importing your project, MArkers will assign a "Top" to the executor key. If this setting is set to "No" then MArkers will ignore the timecode token as instead the default token for the user.
For most of these settings please refer to Master Sequence Settings.

This is the default delay time for Temp or Flash events when importing these tracks.

MArkers creates a tempo sequence, which tracks tempo changes throughout your Reaper project. This setting will define which sequence pool number your tempo sequences will store from.

When importing, MArkers can assign your sequences to executors on a given page. This setting sets the default assignment of executors for your sequences. For example, "201 Thru 290" will assign sequences sequentially from 201 to 290. You can also use cases such as "101 Thru 105, 201 Thru 205, 301 Thru 305, 401 Thru 405", using a comma between each range will allow MArkers to know you want to use multiple ranges of executors.

The same as Master Sequence, but for other sequences that MArkers imports.
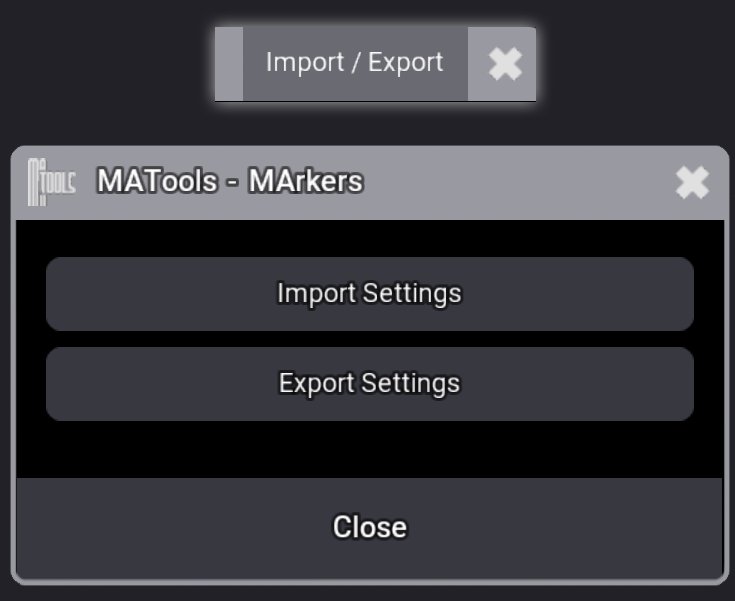
In the title bar of MArkers settings, there's an Import/Export button which will allow you to Export your settings to a file in your USB drive. We highly recommend doing this so you can import them if your settings get lost or if you're starting on a new showfile. To recall your settings, simply click the Import Settings button and select the previously exported settings from the list.
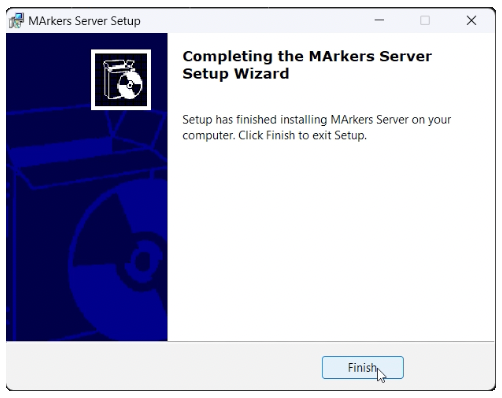
Download and run the MArkersServer_VX.X.X.X.exe and follow the wizard steps to install MArkers Server on your windows PC.
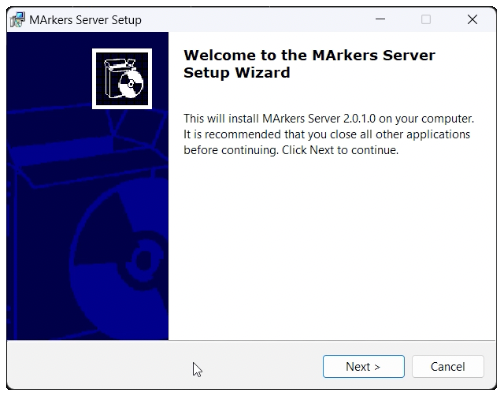
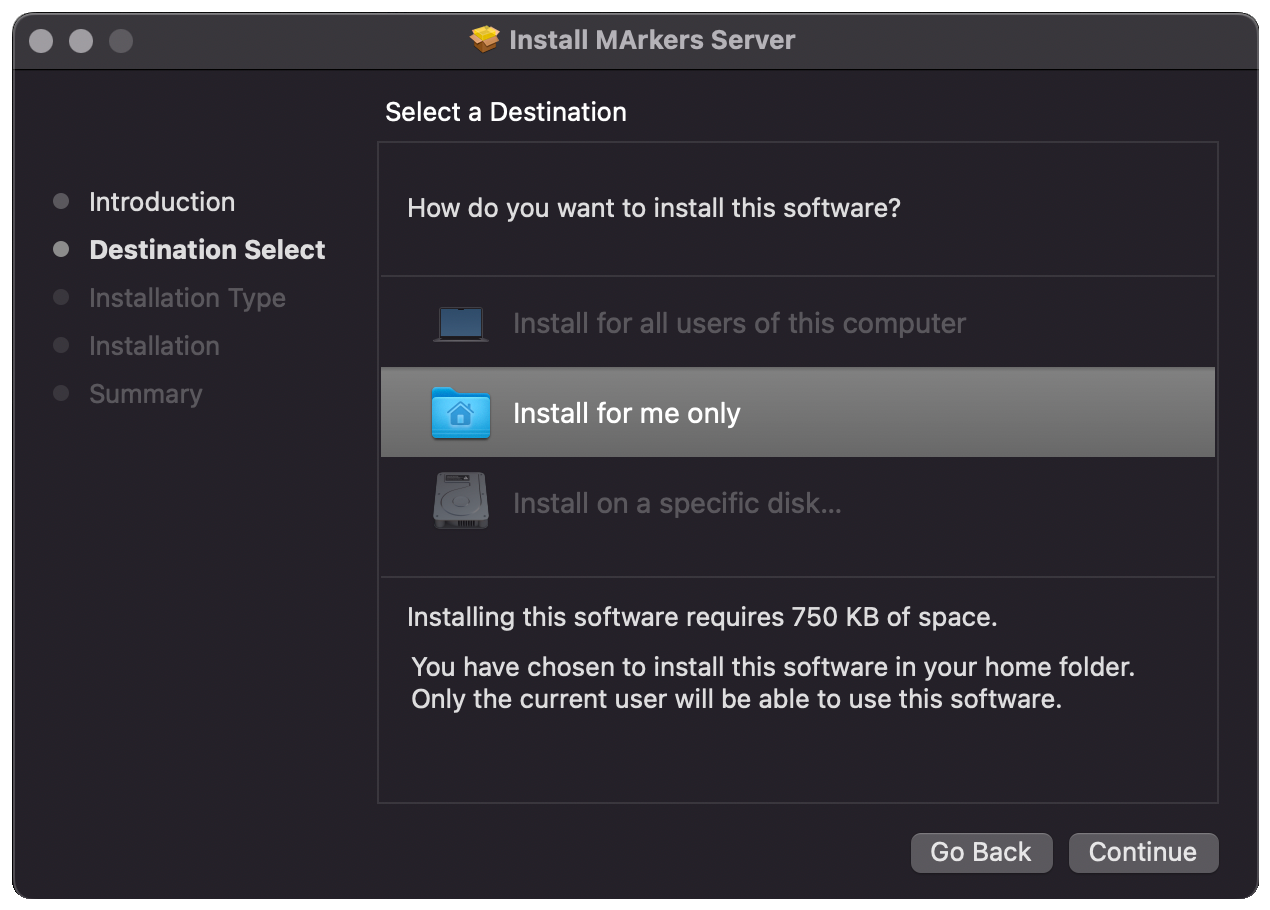
When installing the MArkers server for Reaper on Mac. You'll most likely need to approve the installer in "Security & Privacy" system settings of your Mac before you can run the installer. When following the steps of the installer, make sure you have selected "Install for me only" as show in the image below. MArkers server should now be installed and working with your Reaper.
The "Reaper Project Auto File Sync" setting in MArkersServer synchronizes changes made to a Reaper file across multiple users and computers. When one user edits and saves a file, it automatically updates on other users' Reaper applications. This feature is particularly beneficial for collaborative projects, such as when multiple lighting programmers are working simultaneously on the same project. To ensure smooth operation, all users accessing the Reaper files must have MArkersServer installed and this feature enabled.


For the quickest setup, use the auto-configure option for ArtNet Timecode. This will create the ArtNet Input and set a Timecode Slot in DMX Protocols menu, aswell as configure MArkersServer to start sending ArtNet Timecode.
You can purchase MArkers now from our sales site. Simply click the button below to be taken to the checkout.
Purchase MArkers